With over a decade of expertise, our factory has developed a meticulous and efficient brush-making process tailored to local conditions.
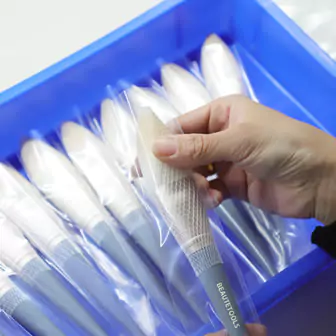
1
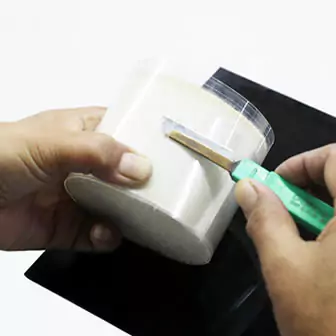
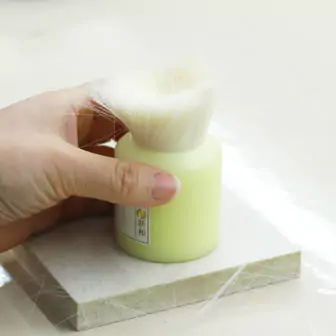
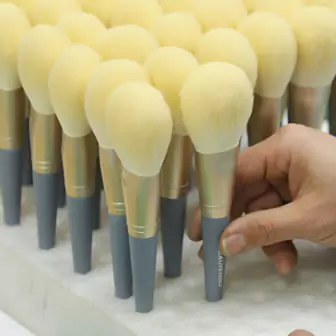
Package Removal
Package Removal
Remove package.
2
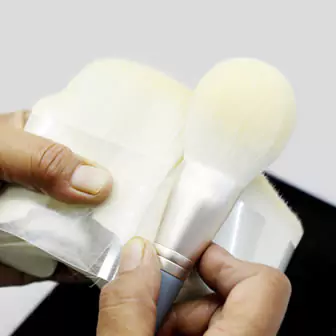
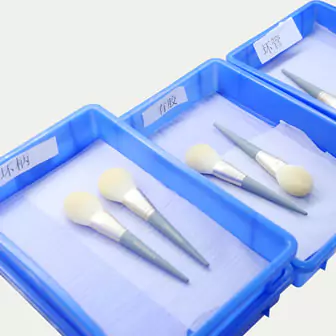
Bristle Color Comparing
Bristle Color Comparing
Compare the color of the bristle raw material and the brush sample. Ensure the brush in bulk order is the same as the sample.
3
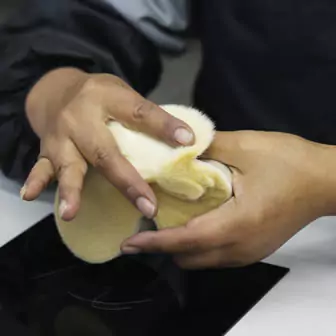
Bristle Waviness Comparing
Bristle Waviness Comparing
Ensure the bristle raw material is in same waviness to reduce defective rate.
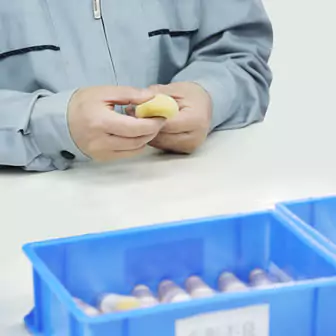
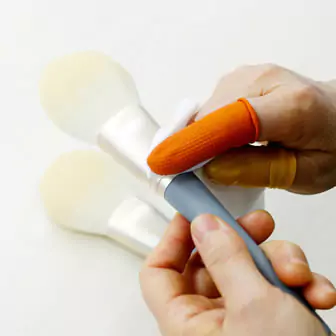
4
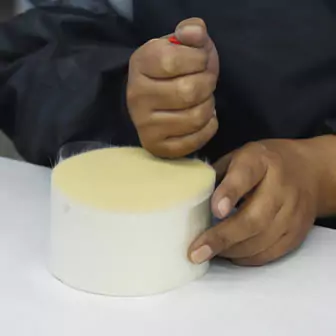
Restructuring
Restructuring
Remove inverted roots to make all bristles face the same direction, to avoid the prickly sensation caused by the rougher bristle roots.
5
Root Checking
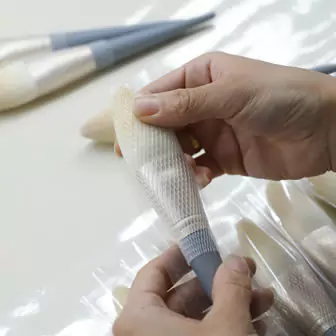
Root Checking
Remove the broken and inverted bristles to ensure the correctness of the bristle direction.
6
Finish Restructuring
Finish Restructuring
Tie up the inspected bristles and store them in the semi-finished product warehouse.
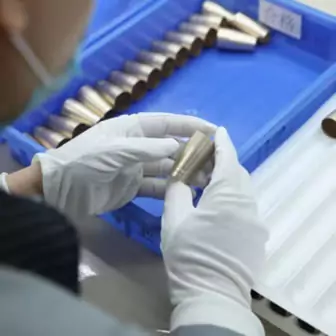
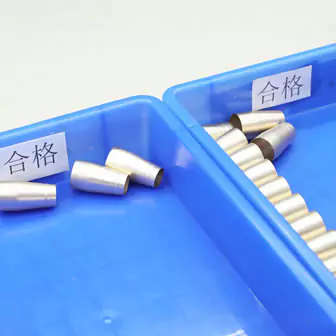
7
Tube Inspection
Tube Inspection
Check whether the tube is deformed or scratched to reduce the defective rate.
8
Tube Selecting
Tube Selecting
Check again to ensure quality.
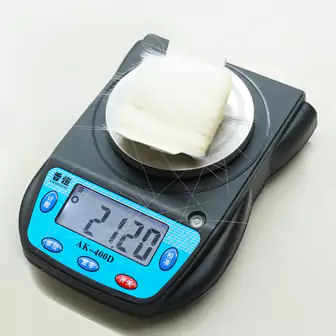
9
Gross Weight Weighing
Gross Weight Weighing
Check if all the brushes have the same bristle volume to ensure the quality consistency of the brushes.
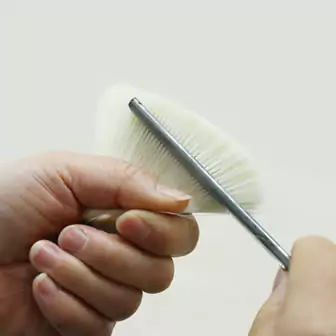
10
Combing
Combing
After weighing, the bristles are slightly messy and need to be combed again to make each bristle face the same direction. Keep it neat and smooth can avoid uneven bristles caused by previous process.
11
Bristle Tidying
Bristle Tidying
Employees with more than 20 years of experience use skillful techniques make the bristles into the shape: using single and double bristle for insertion, bristle heads without peaks are usually made by cupping.
12
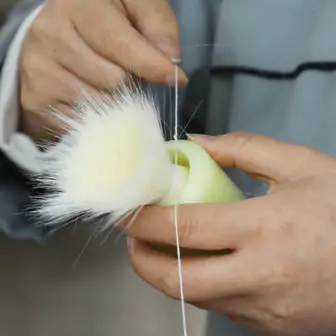
Bristle Binding
Bristle Binding
In order to prevent the bristle from spreading and deforming, use thin thread to manually wrap multiple turns until they are tight, adjust the bundling strength according to the amount of bristle.
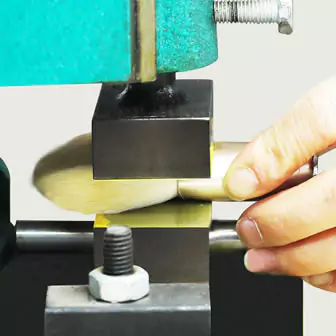
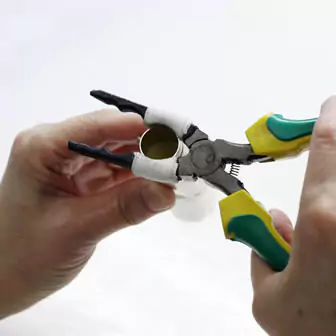
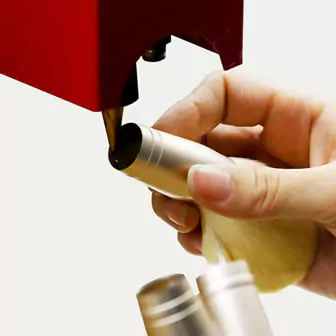
13
Roots Shaving
Roots Shaving
After wrapping the thread, use manual or machine shaving to get a more complete brush head shape. By using a rapidly rotating razor, quickly trim the uneven excess bristle at the tail and smooth it without affecting the shape.
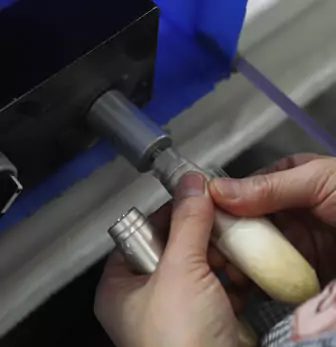
14
Bristle Nesting
Bristle Nesting
Wrap the bristle root with a plastic sleeve and push it into the tube with appropriate force, ensure the shape is well kept and avoid damage to the bristle tip.
15
Thread Removing
Thread Removing
Remove the thread that bound the bristle head and adjust the brush shape.
16
Tube Pressing
Tube Pressing
Shaping the nozzle with appropriate pressure. This step is only applicable to flat-headed brushes.
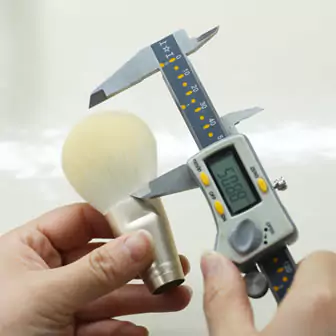
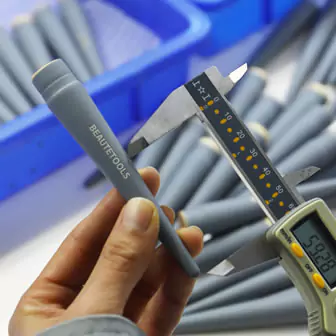
17
Size Measuring
Size Measuring
Measure the bristle length to make sure consistency.
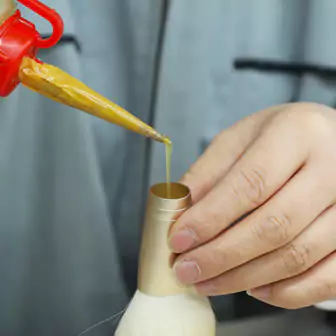
18
Glue Injection
Glue Injection
Inject glue into the tube after confirming the brush is well-shaped. The imported water-proof glue can fix the bristles and prevent them from falling off.
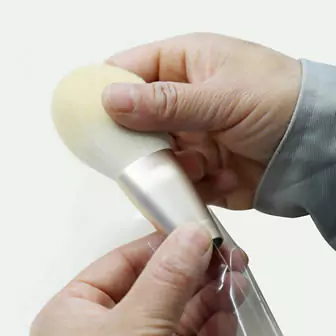
19
Sleeve Attaching
Sleeve Attaching
Attach the sleeve to a brush to prevent scratches and deformation that may be caused by subsequent steps.
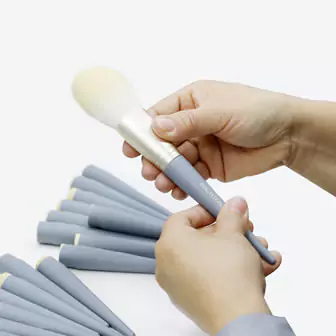
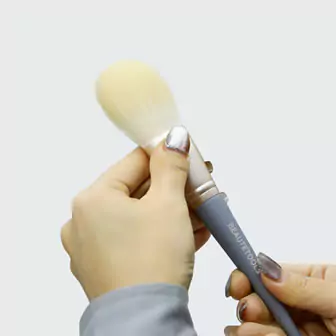
20
Inspection
Inspection
Check whether the bristle shape is correct and whether there are scratches on the nozzle.
21
Handle Inspection
Handle Inspection
Check the wooden handle appearance, surface, painting, size etc.
22
Tube Rounding
Tube Rounding
Adjust the shape of the nozzle to make it round.
23
Deburring
Deburring
Remove burrs in the tube to avoid scratching the handle.
24
Glue Injection
Glue Injection
Squeeze AB glue before assembling the wooden handle to make the brush stronger.
25
Adjustment
Adjustment
Adjust the shape of the nozzle to make sure it matches with the handle.
26
Glue Injection
Glue Injection
Apply glue on nozzle.
27
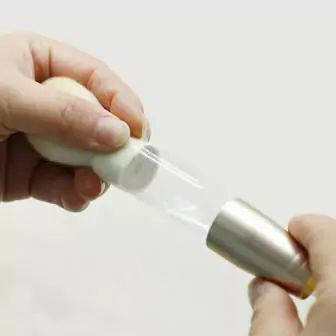
Assembling
Assembling
Assemble the nozzle to the handle.
28
Finished Product Assembly
Finished Product Assembly
Assemble the bristle head with handle to ensure they are tightly and seamlessly combined.
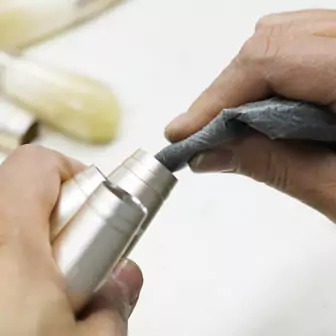
29
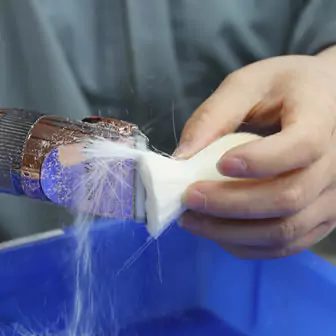
Glue Cleaning
Glue Cleaning
Remove dust and stains from finished makeup brushes before packing.
30
Inspection
Inspection
Check LOGO, barcode, PET tube, etc.
31
Mesh Cover Attaching
Mesh Cover Attaching
Put the mesh cover on the makeup brush and put it into a suitable bag to reduce scratches during transportation.
32
Packaging
Packaging
Put each packed brush on the conveyor belt, put it into an OPP or PET bag, and then put it into the bag for final packing.